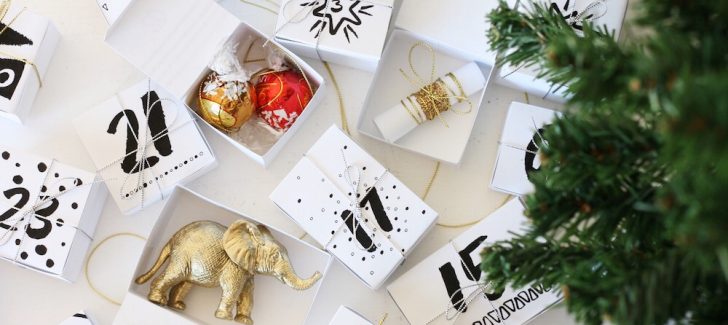
Christmas DIY – Craft Your Own Mini Box Advent Calendar!
With all of the hustle and bustle of the holidays, it’s easy to lose track of time. Before you know it, it’s Christmas! A DIY advent calendar that you and your family can craft together will help you count down to the big day. You’ll be able to reuse many of these over the years, and you can be as creative as you want with the decor. Whether you want something traditional, kitschy, or something a little more elegant, this DIY mini box calendar will be fun for the whole family to get involved in! Our DIY expert Anam Clarke of The Designers Studio, shows us how it is done below.
What You Will Need
- Mini Cardboard boxes (I got mine from dollar plus in Ibn Batutta mall, however dragon mart and amazon sell these too).
- White card
- Glue
- Scissors
- Gold paint
- Paint brush
- Embellishments
Watch The Video Walkthrough Below
Step By Step
Step 1.
Make the boxes
Step 2.
Arrange the boxes (with the opening flap facing outward) in a circle of 7 pieces.
Step 3.
Cut strips of cardboard and crease them in the center.
Step 4.
Attach the strips on one cardboard box and its next door neighbor.
Step 5.
Leave to dry.
Step 6.
Repeat for the next level, which will be 6, then 5, then 4, then 3, then 1 (there is no 2).
Step 7.
Glue each row of boxes to each other so they are secure.
Step 8.
Leave to dry.
Step 9.
Draw decorative objects and numbers on to the card, paint them in gold and start embellishing.
Step 10.
Fill the boxes with fun, tasty treats and mini gifts.
What’s best about his calendar is that each box can contain a different kind of surprise making the lead up to Christmas extra special. I have gone with a more elegant scheme for the mini box calendar for my home as all of our Christmas Decor is Gold and white. Remember your calendar will be personal to you and your family.


